InDesign mini-zine template

I made my So you want to make a public comment! mini-zine in Adobe InDesign, and I figured I could save someone else a few steps to making a mini-zine by releasing a template based on that work.

Screenshot of my mini-zine template in InDesign

Thank you to Cupcake Ipsum for generating the placeholder text in this zine!

License

This mini-zine template for InDesign is marked CC0 1.0. To view a copy of this mark, visit https://creativecommons.org/publicdomain/zero/1.0/. I've dedicated the template to the public domain by waiving all of my rights to the work worldwide under copyright law, including all related and neighboring rights, to the extent allowed by law, and you can copy, modify, distribute and perform the work, even for commercial purposes, all without asking permission. Go have fun making mini-zines!

Download the mini-zine template for InDesign

Once you print a mini-zine you've made with this template, you'll need to fold it:

  1. Fold the printed mini-zine page in half, then half in again, and then in half again as shown. Printed mini-zine, then the printed zine folded in half, then in half again, and then in half again. When you open the piece of paper, each of the pages should fit fully within a set of folds. Each of the mini-zines' pages is in its own box delineated by the folding.
  2. With the mini-zine page completely open, fold it in half with short ends touching ("hamburger style") so the text is on the outside. Using scissors, cut a across the dotted line. The mini-zine page is folded in half with short ends touching and a scissor is about to cut along the dotted line. When you reopen your paper, there will be a slit in the middle of the sheet. The reopened paper has a slit across the middle of the sheet that spans the width of the two columns of middle pages in the sheet of paper.
  3. Fold the paper in half lengthwise with long ends touching ("hotdog style"), hold the paper at either end, and fold the sheet into itself to form an 8-page booklet. Folding in half with the long ends touching and then pushing in from the short ends allows the slit to open up into a diamond. Continuing to push those short ends in to close the space in the slit makes the booklet form appear. Once the booklet form appears, ensure the cover is on the outside and crease to secure the pages in the right order. Make sure the cover is on the front; the italicized license information will be on the bottom of the backcover.

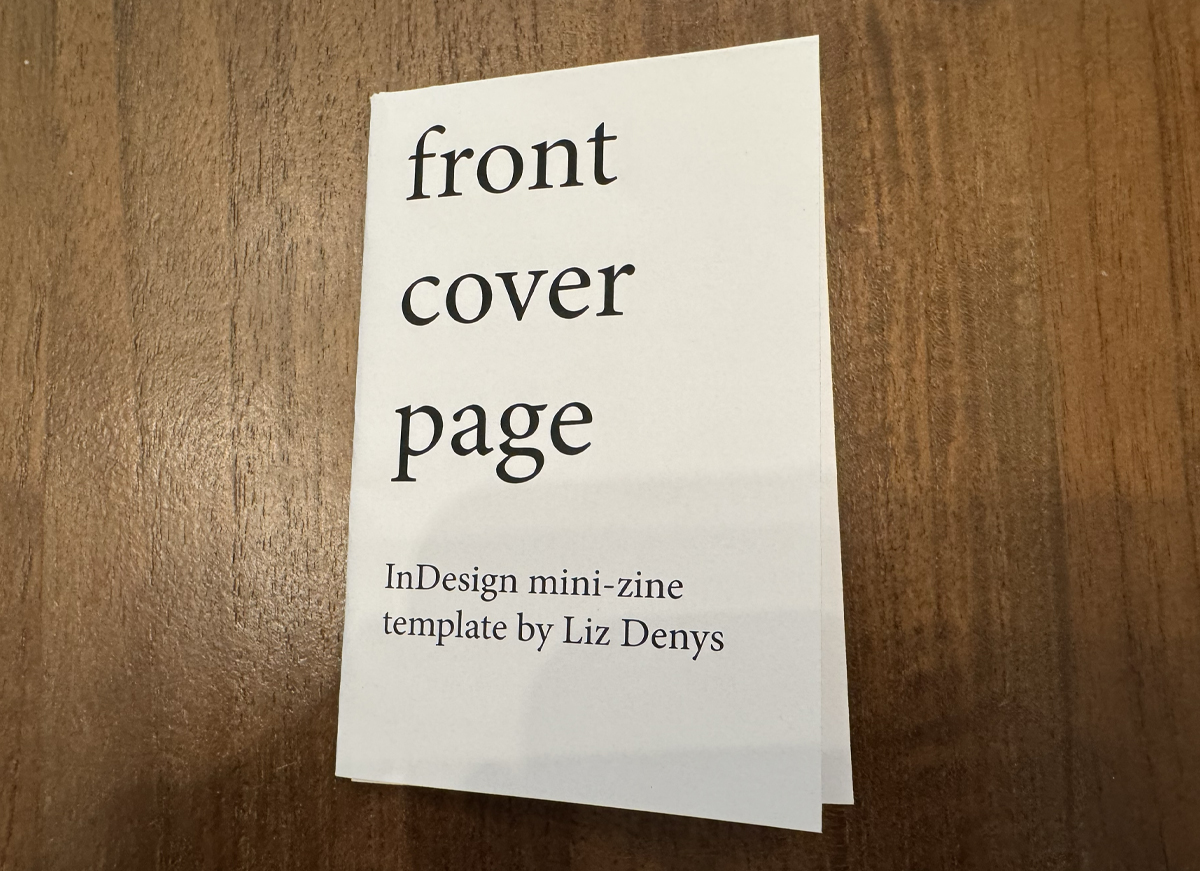
You're final mini-zine will look something like this (but with your zine's content, of course!): Fully folded mini-zine