As a fan of both Animal Crossing New Horizons and the LEGO Botanical series, I figured I'd make the ACNH in-game LEGO Plum Blossom item with real LEGO pieces:
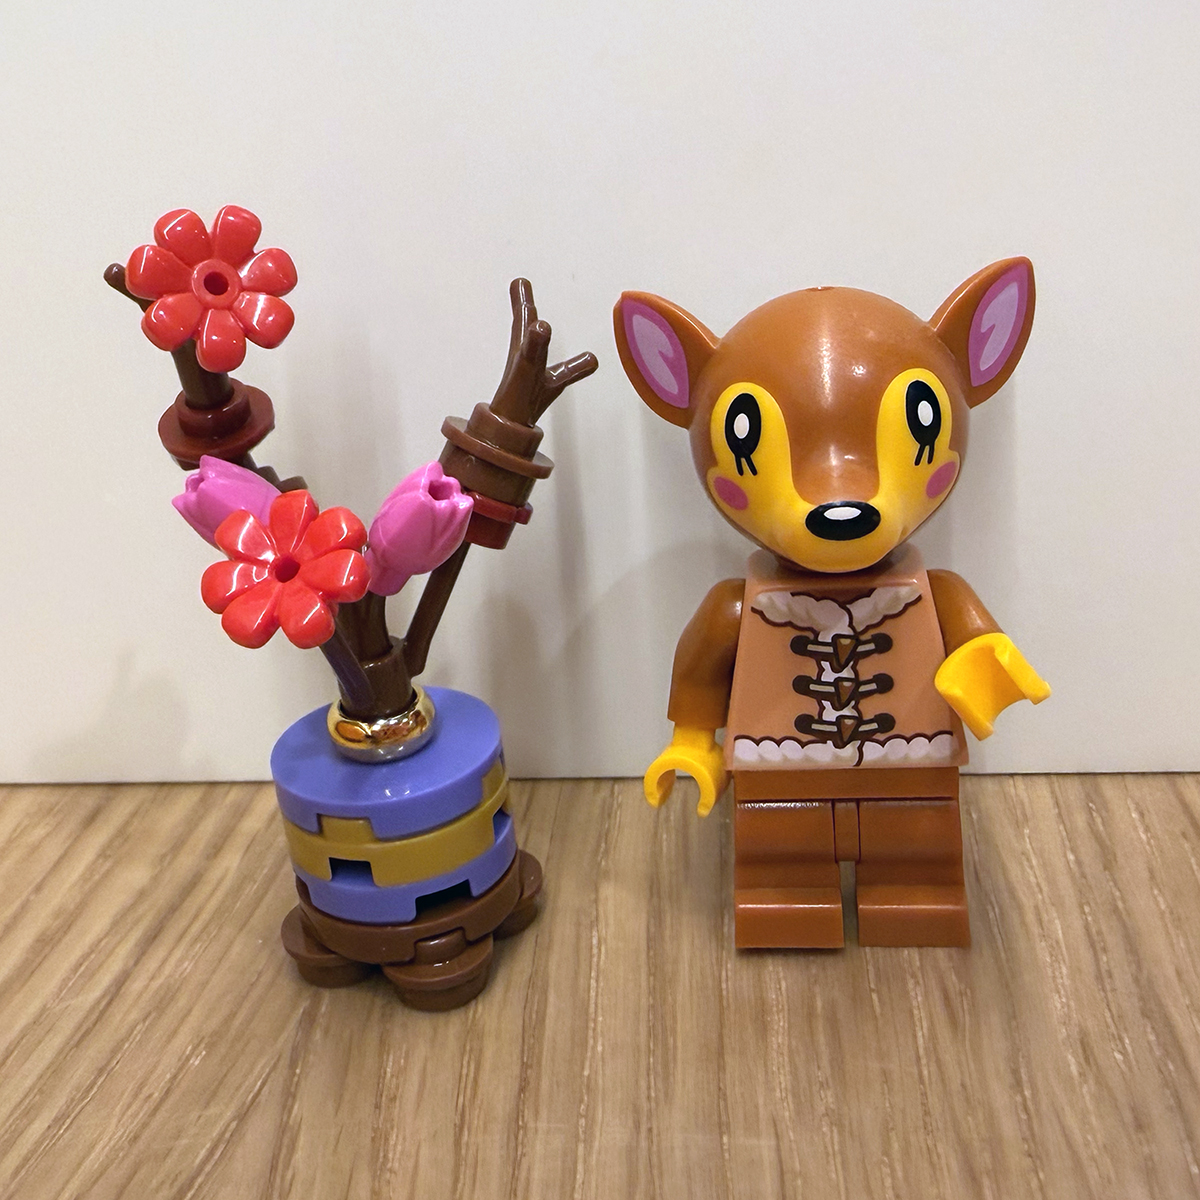
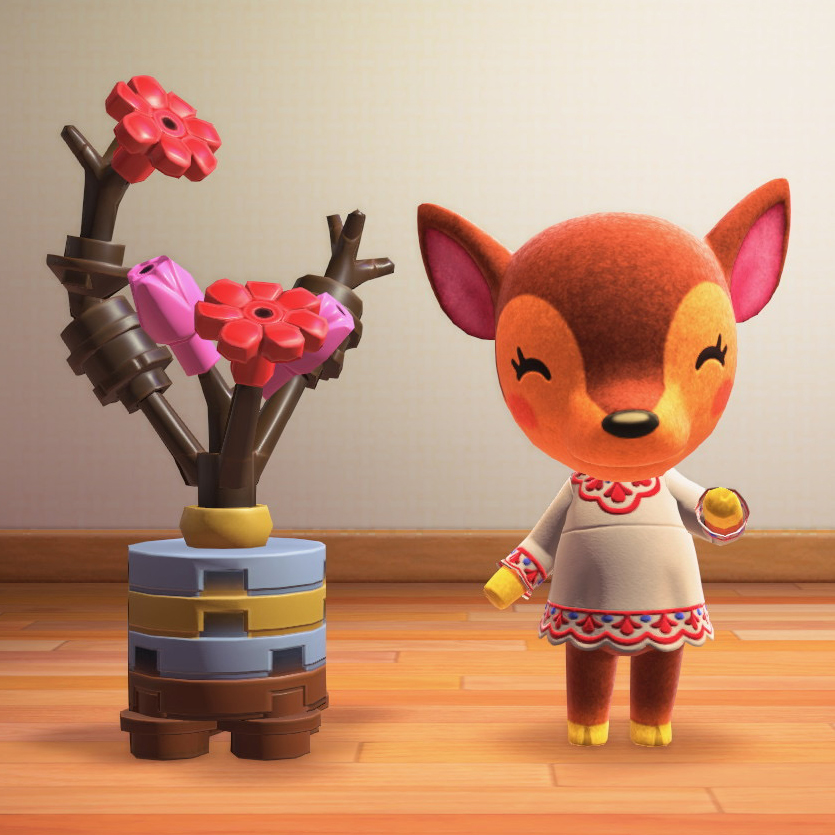
The real LEGO brick one even has a similar scale compared to LEGO Fauna as the in-game item compared to Fauna!
Part list and instructions
22 LEGO pieces are needed:
- 2 Tile, Round 2 x 2 with Open Stud (18674) in Blue Violet
- 1 Tile, Round 2 x 2 with Open Stud (18674) in Reddish Brown
- 1 Plate, Round 2 x 2 with Axle Hole (4032) in Pearl Gold
- 1 Plant Flower Stem with Bar Holder, Bar, and 3 Stems (24855) in Reddish Brown
- 3 Plant Flower Stem with Bar and 3 Stems Short (68211) in Reddish Brown
- 2 Plant Flower with Bar and Small Pin Hole (32606) in Red
- 2 Plant Flower Tulip with Bar and Small Pin Hole (5903) in Dark Pink
- 1 Bar 1L with Angled Hollow Stud (65578) in Dark Red
- 6 Plate, Round 1 x 1 with Open Stud (85861) in Reddish Brown
- 2 Plate, Round 1 x 1 with Flower Edge (5 Petals) (24866) in Dark Red
- 1 Minifigure, Utensil Ring 1 x 1 (11010) in Chrome Gold
I've created a parts list you can use with Bricklink as well: download here (.xml).
I also made instructions in Studio, which can be downloaded here (.pdf).
Some notes on the discrepancies between my miniature LEGO Plum Blossom and the ACNH in-game item
- Tile, Round 2 x 2 with Open Stud (18674) hasn't been made in Sand Blue (or any similar enough piece that could be modified), which is the color used in the full size, real life Lego Plum Blossom set's pot and appears to be the color used in the ACNH in-game item. I chose Blue Violet instead. I also considered Light Aqua, Medium Azure, and Lavender as each of them also felt close to the "true" Sand Blue color in their own way, but I ended up settling on Blue Violet since I didn't want something very pastel or very saturated.
- It appears that none of the stacked 2x2 tiles making up the pot have studs on top in the ACNH in-game item, but since I couldn't find a gold-toned Tile, Round 2 x 2 with Open Stud (18674), I settled for using Plate, Round 2 x 2 with Axle Hole (4032) in Pearl Gold. It's a very small discrepancy, but figured I'd note it! Using 18674 for the other pieces still allowed for the 45 degree rotational shift in the pot base.
- The ACNH in-game item has a seemingly matte gold Minifigure, Utensil Ring 1 x 1 (11010) at the top of the pot, but only comes in Chrome Gold, which is much shinier.
- The branches in the full size, real life LEGO Plum Blossom set are primarily Dark Brown, and the ACNH in-game item also appears to have Dark Brown branches. However, the corresponding pieces for the ACNH in-game item - Plant Flower Stem with Bar Holder, Bar, and 3 Stems (24855), Plant Flower Stem with Bar and 3 Stems Short (68211), Bar 1L with Angled Hollow Stud (65578), Plate, Round 1 x 1 with Flower Edge (5 Petals) (24866), and Plate, Round 1 x 1 with Open Stud (85861) - are not actually available in Dark Brown. I chose to use Reddish Brown as the primary color for the pieces that are available in that color, and I chose Dark Red for the remainder. Piece 65578 is used in similar, but smaller, ways in Dark Red in the full size, real life LEGO Plum Blossom branches, and this was the closest available color for piece 24866. While using Reddish Brown and Dark Red in the branches isn't faithful to the ACNH in-game item, the variation in color feels more accurate to the vibes of the full size, real life LEGO Plum Blossom branches.
Thank you to my friend Chris Post for helping me think through possible pieces to use!
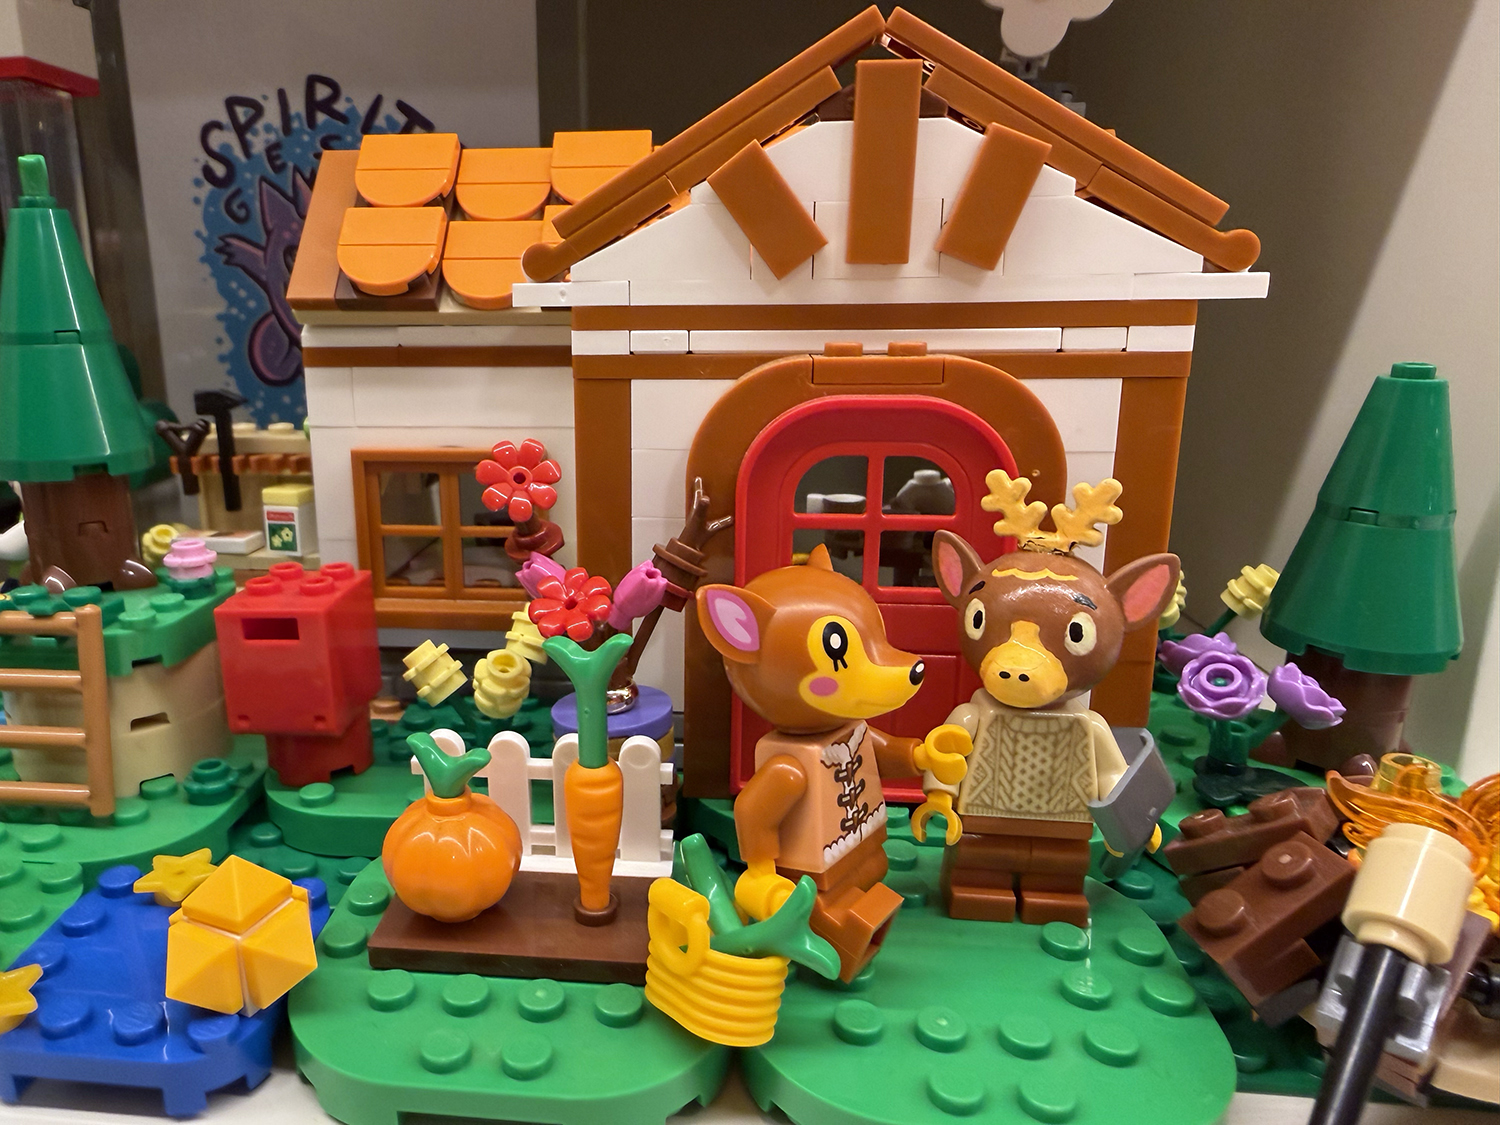
P.S. You, too, can make a LEGO minifig version of the villager Erik with various LEGO parts and Posca paint markers.