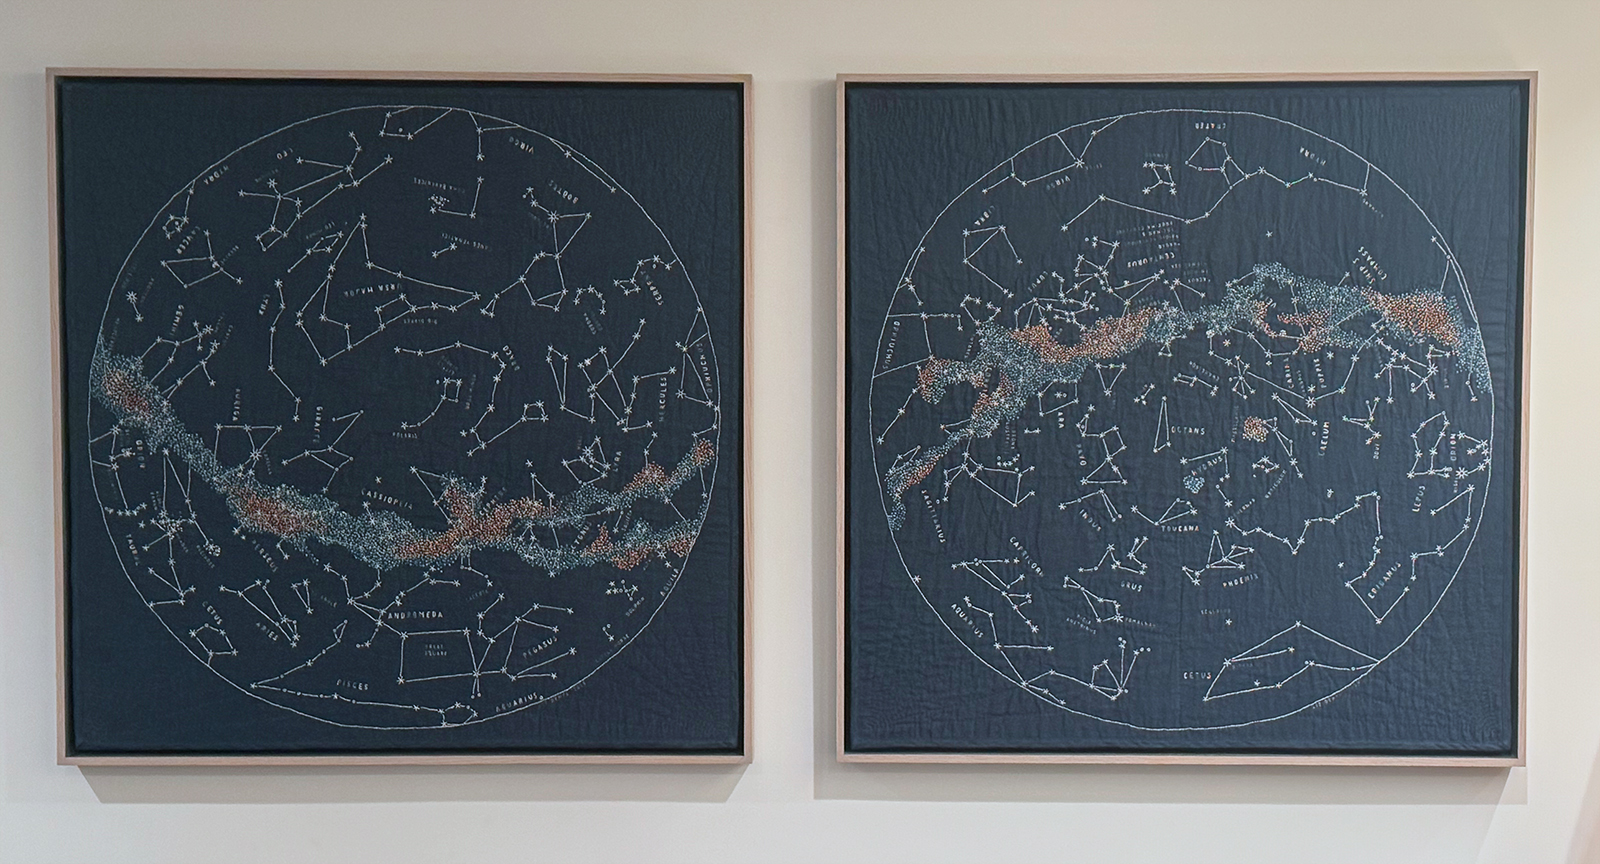
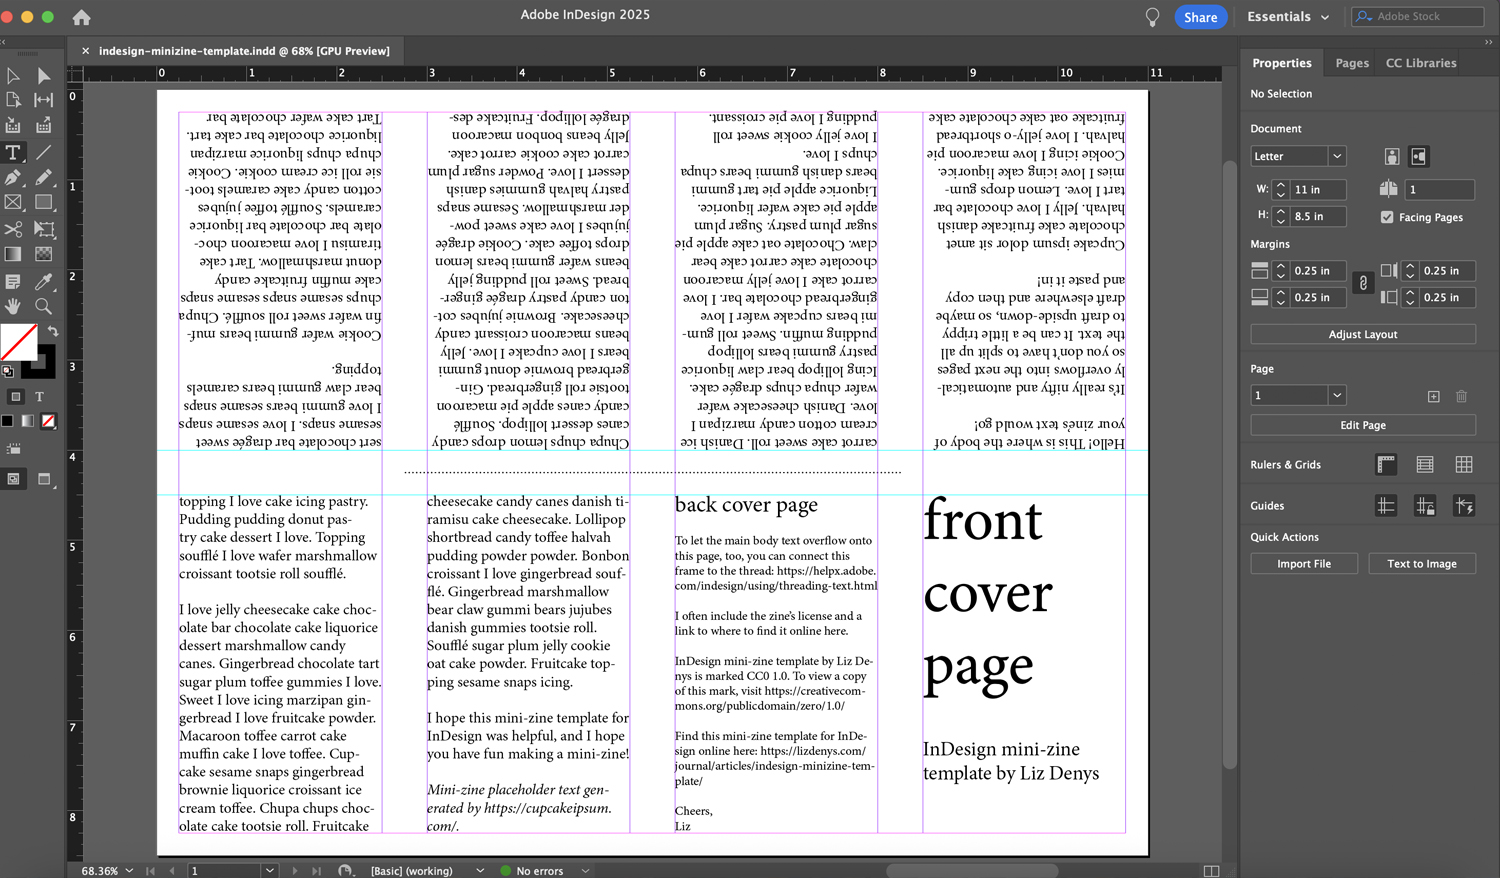
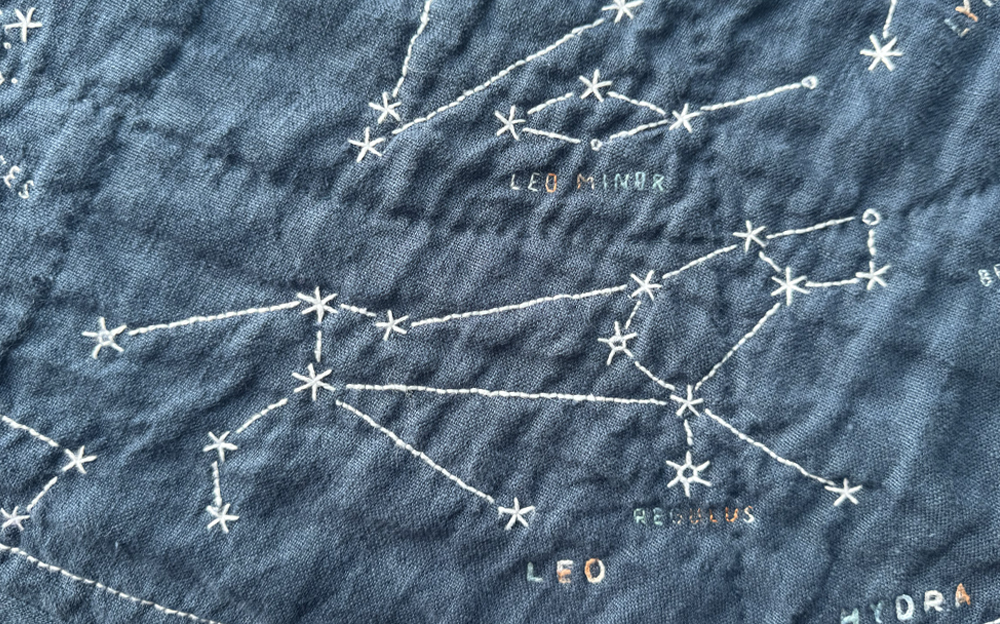
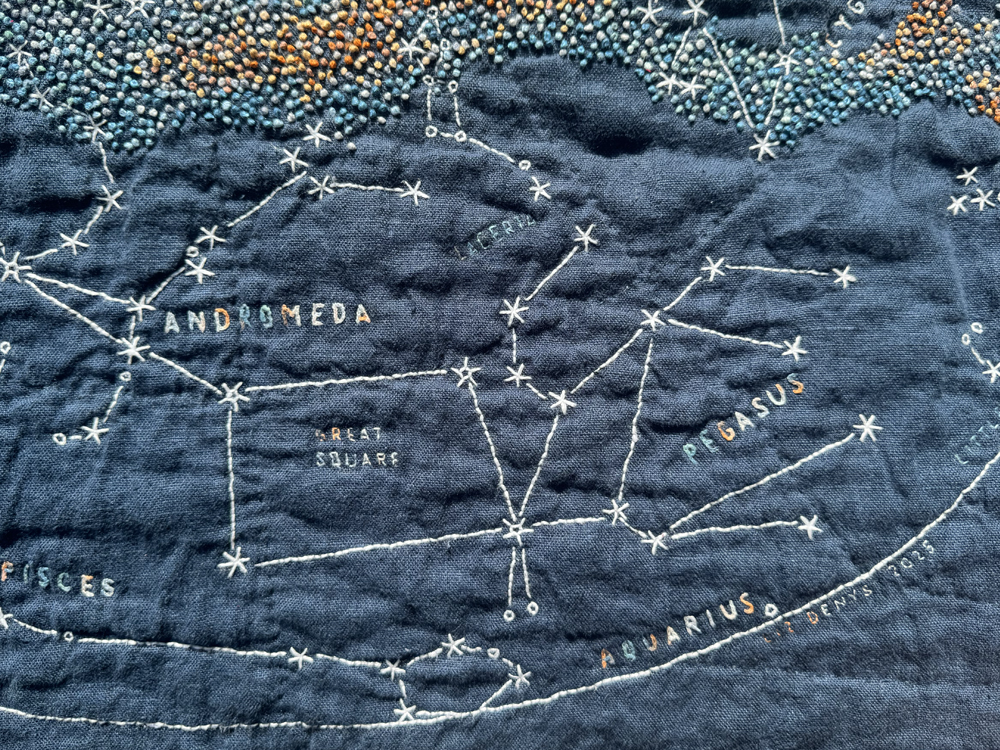
I find a lot of value in doing creative work that isn't in clay - I can feel more fully relaxed creating something that's purely a hobby, and working in other mediums inspires my ceramic studio practice in unexpected ways. I recently finished a very large, non-ceramic project: hand-quilted, hand-embroidered wall quilts of the Northern and Southern Skies.
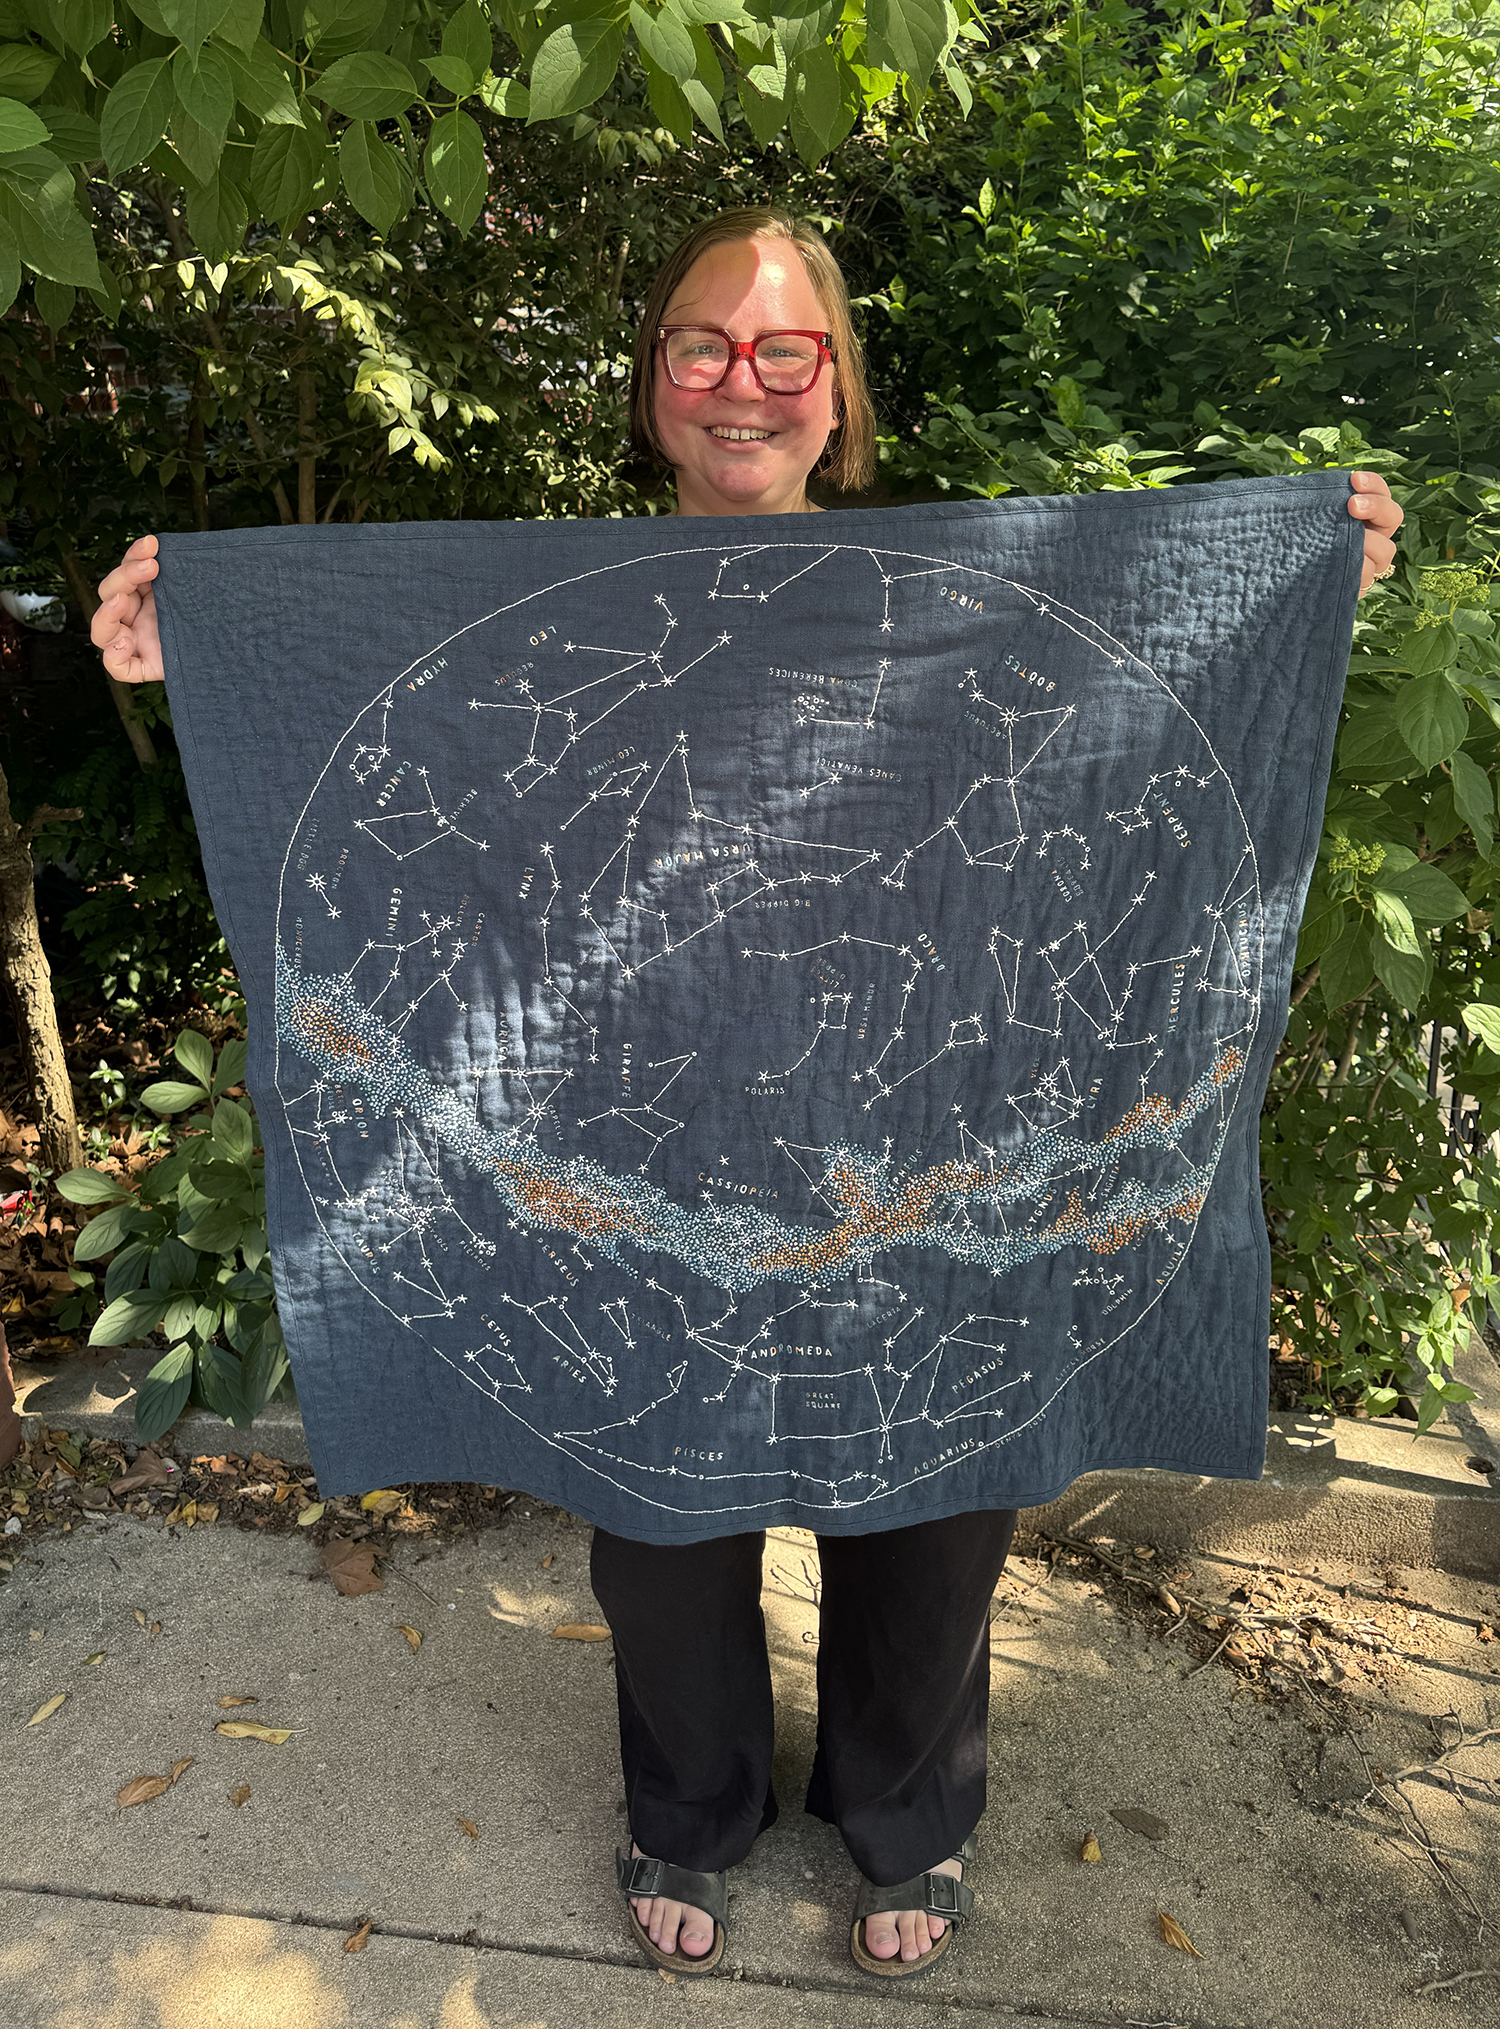
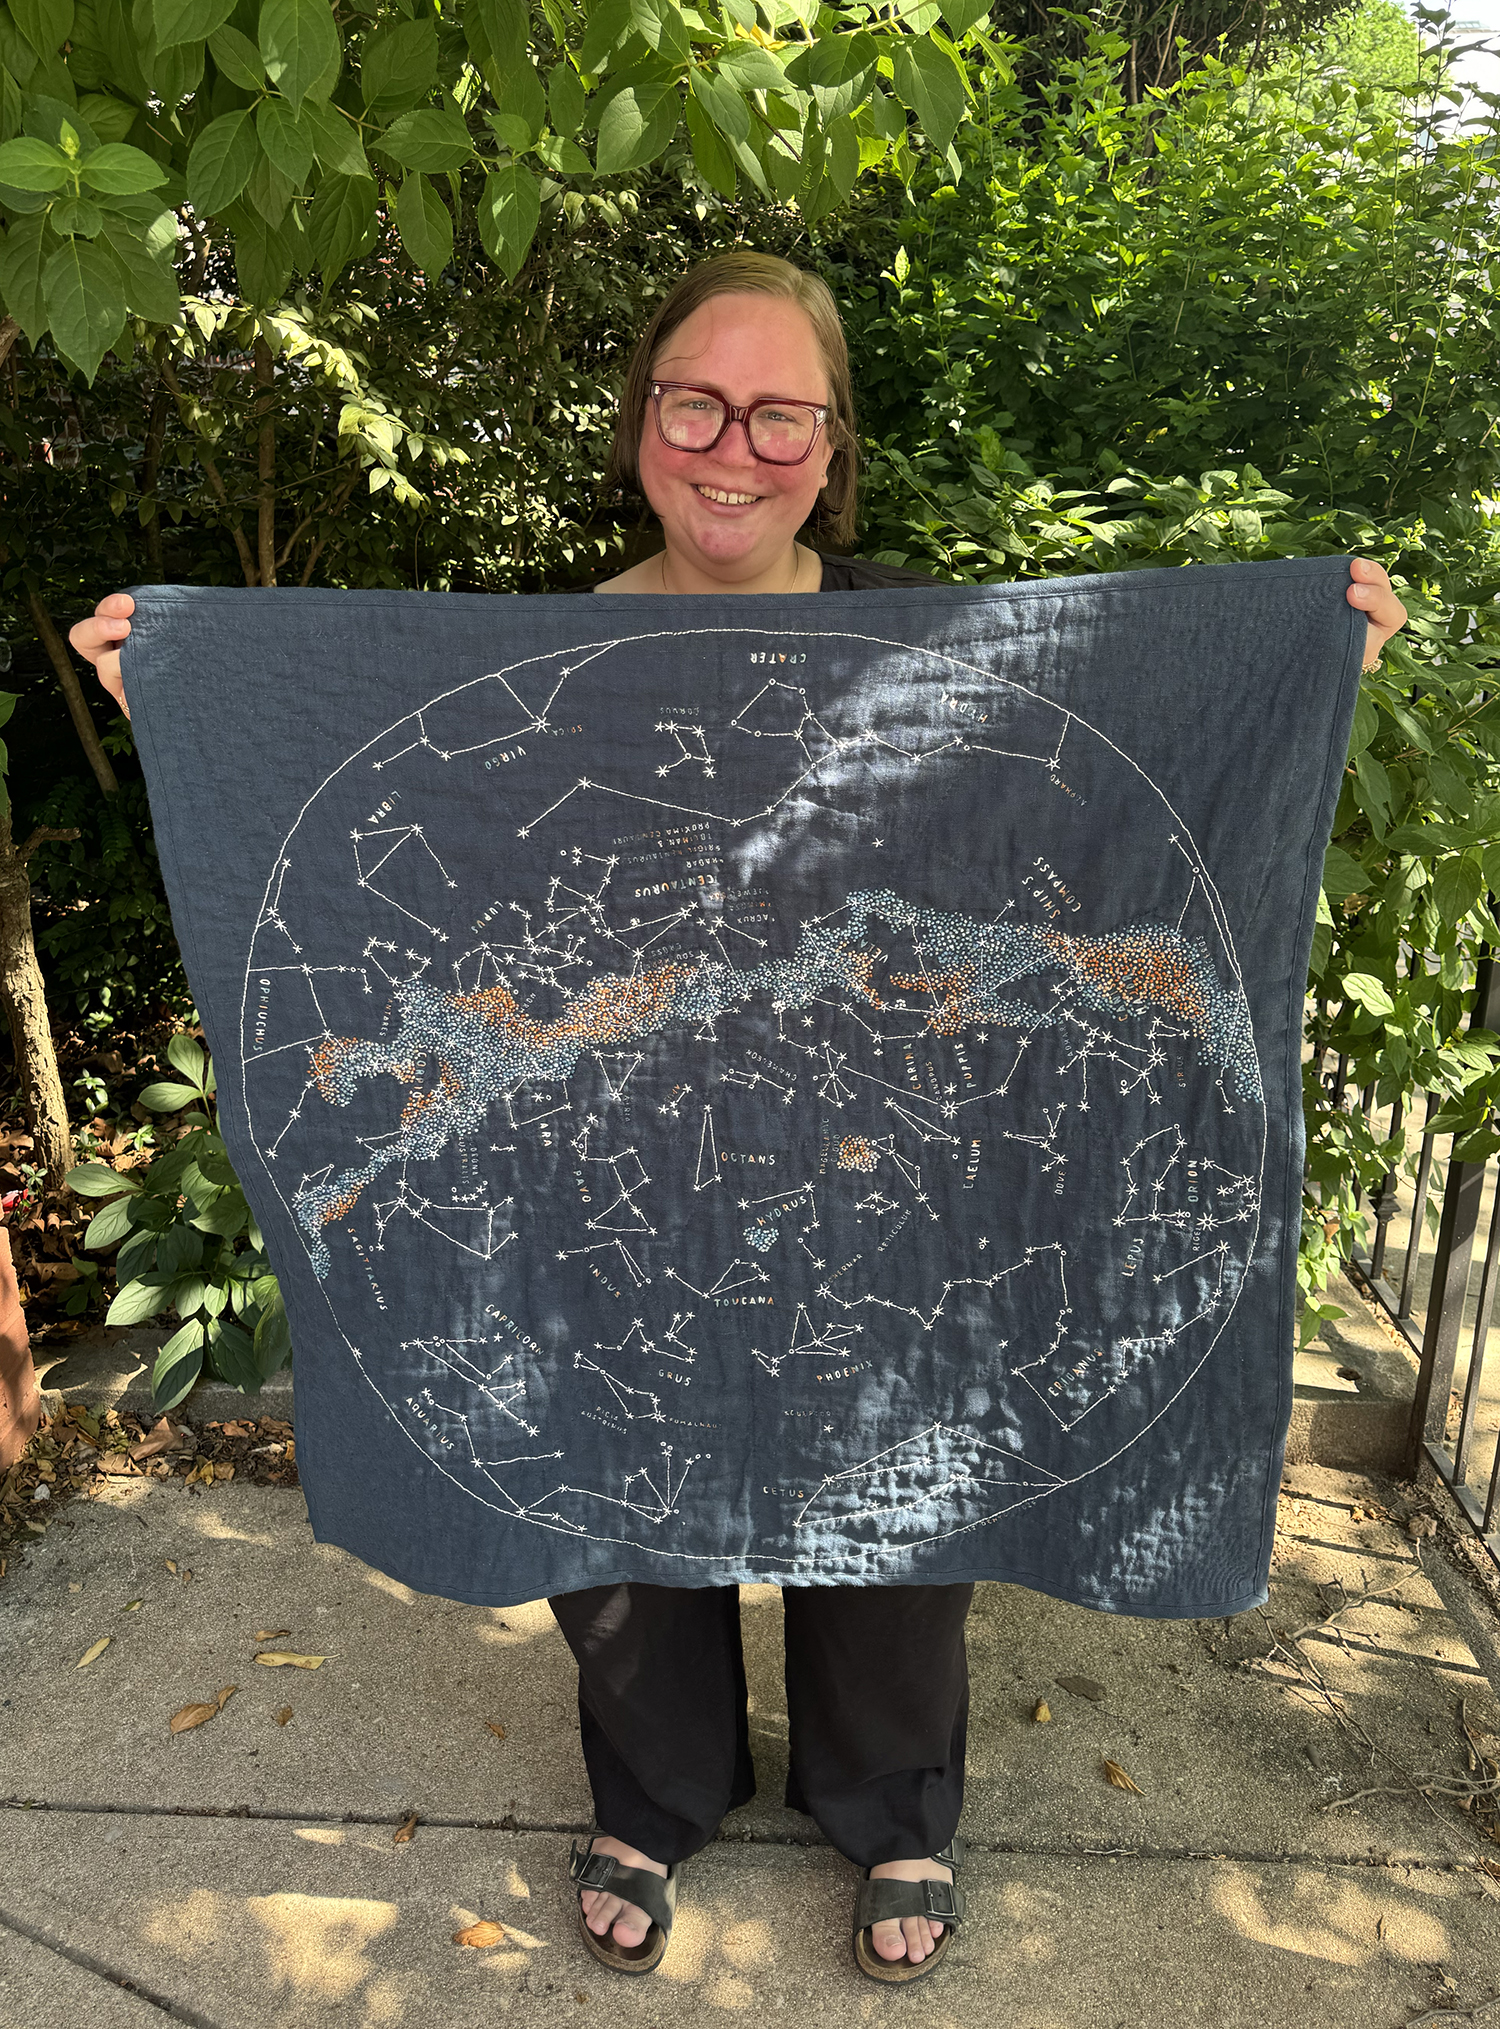
Perhaps it does not come as a surprise that such a large work of mine features the night sky, a motif that helps me feel hope in the dark.
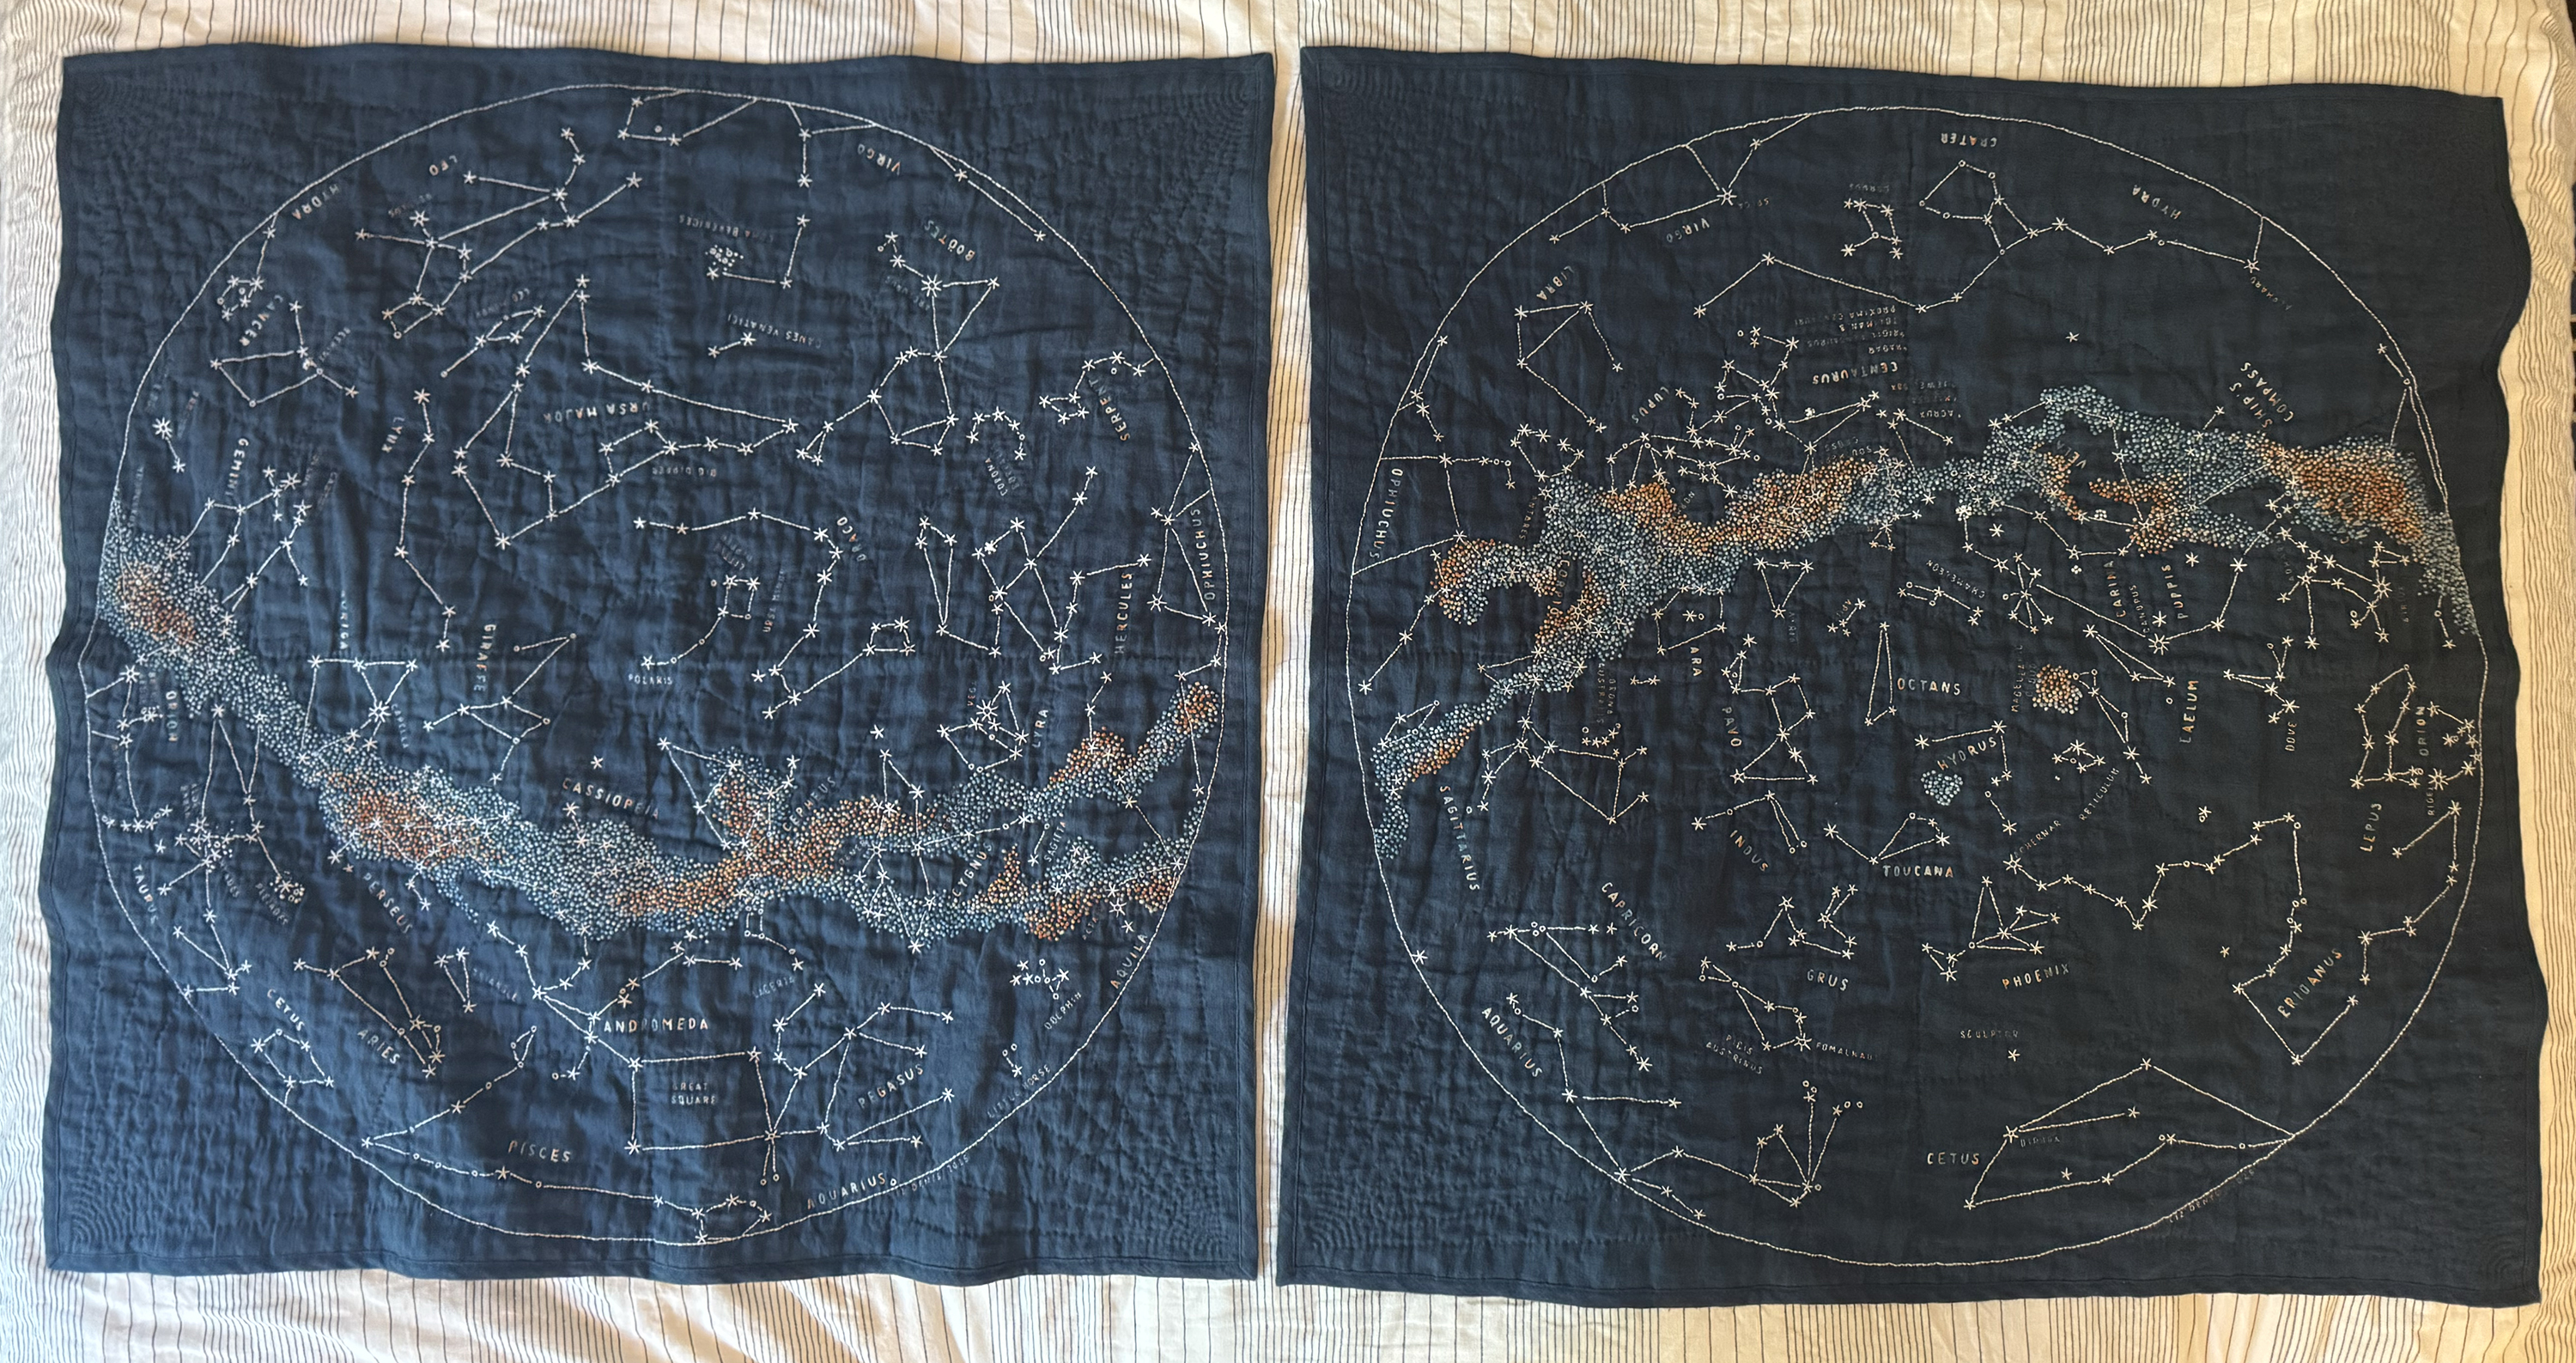
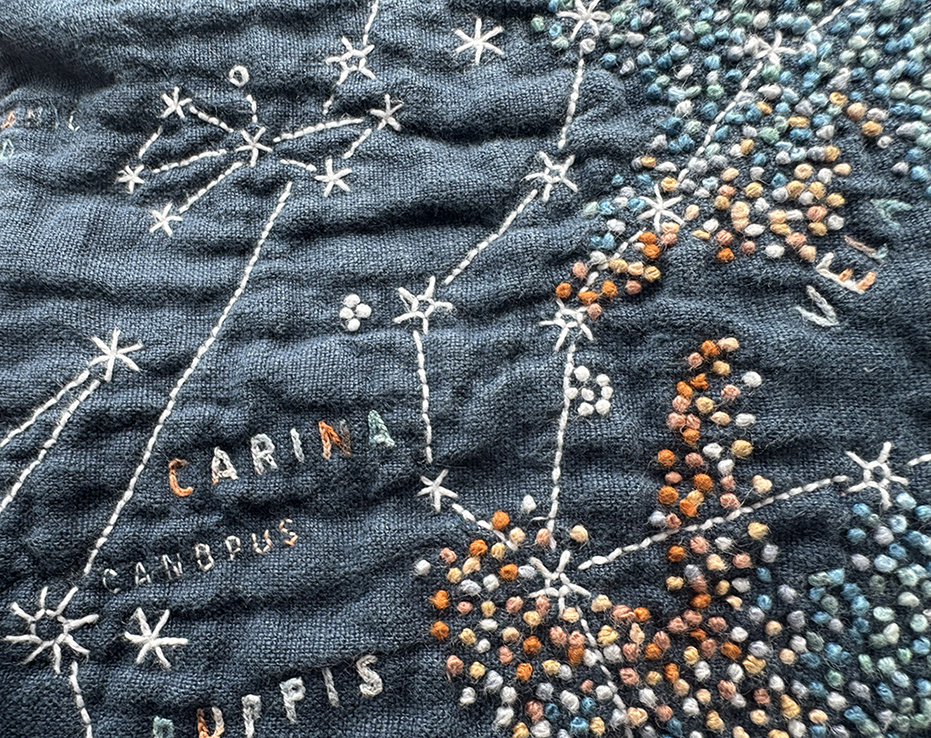
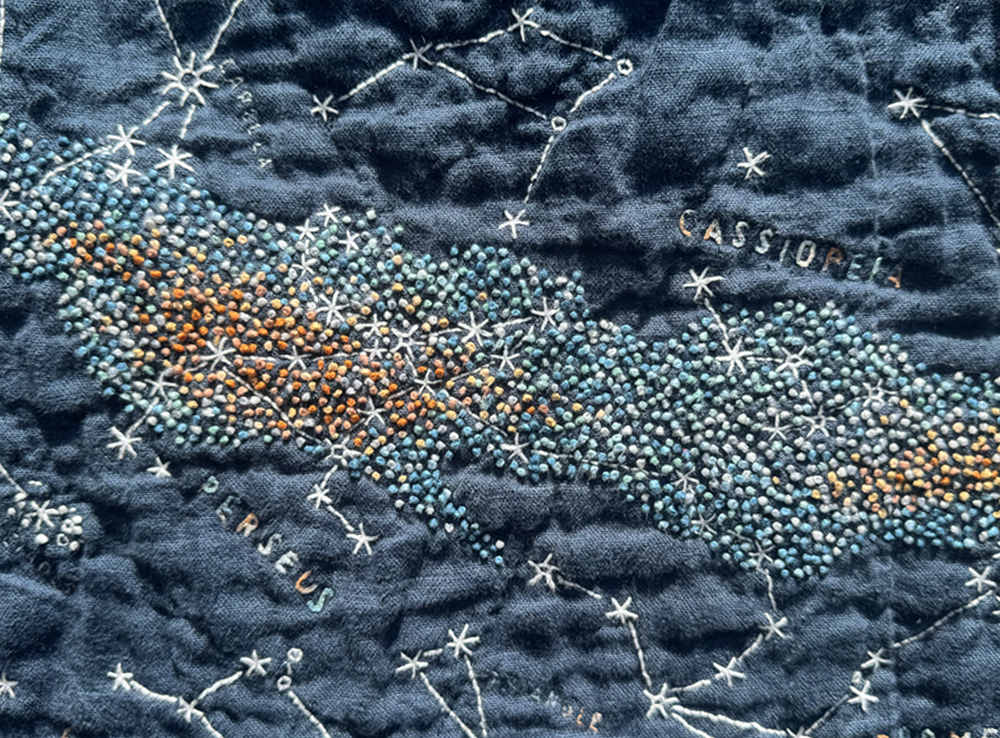
My project notes follow.
Materials used for both quilts (roughly halve if you're only planning on doing one of the hemispheres)
- Haptic Lab's DIY constellation quilt patterns - I bought the pre-printed templates with the design printed on an embroidery stabilizer in the small (36" x 36") size
- Sulky Sticky Fabri-Solvy Stabilizer - optional, for printing any additional printing (essential if you go the print-it-yourself route)
- 5 meters Inky blue "Newton 260" linen from Merchant & Mills for quilt tops, quilt bottoms, and bias tape edges
- Note: One could get away with using less to make two quilts, especially since I intentionally cut the fabric with extra length on all sides (more on that in the notes). The fabric is much wider than needed for the tops and bottoms of the quilts at 145 cm (~57 inches), and the bias tape for finishing could have been made out of that excess width. I'm looking forward to using what's left in other projects!
- 3 spools (100 meters each) of the linen's matching Gütermann thread for the structural azimuthal grid lines of the quilts and finishing with bias tape
- 2 40" x 40" pieces of quilt batting - I used 100% bamboo batting
- Each quilt used one, of course.
- 2 skeins (57 meters each) Stef Francis's Space-dyed 603 Linen thread in colorway 27 for the words
- Each quilt required under one skein.
- This thread is closer in thickness to a sewing thread than a typical embroidery thread.
- Note that there is a possibility of significant variation between the dye lots (which are not marked on the skeins). Some of the skeins I have don't have the orange notes at all. You may want to overbuy to get the two matching skeins if you're doing both quilts, or if you buy only 2, make sure to use thread from each skein on both quilts so one doesn't have significantly different color pooling than the other.
- 12 skeins (14 meters each) Studio Flax's Lyster linen in colorway 211 for the stars and constellation visualization lines
- Each quilt required under 6 skeins.
- This thread has a nice thickness and is indivisible.
- I've been using this embroidery thread for quite a while in my various embroidery projects, and there is some variation within the same colorway. The dye lots are not marked, but in my experiences, threads bought at the same time in the same order don't show noticeable variation.
- Many skeins (14 meters each) of Lyster linen in various colorways for the Milky Way
- 1 skein each of 137, 150, 1531
- 2 skeins each of 100, 141, 151, 152, 190, 226, 243, 1911
- 3 skeins each of 153, 154, 1412
- As with the white, there can be variation within the same colorway, dye lots are not marked, but threads bought in the same order don't show noticeable variation.
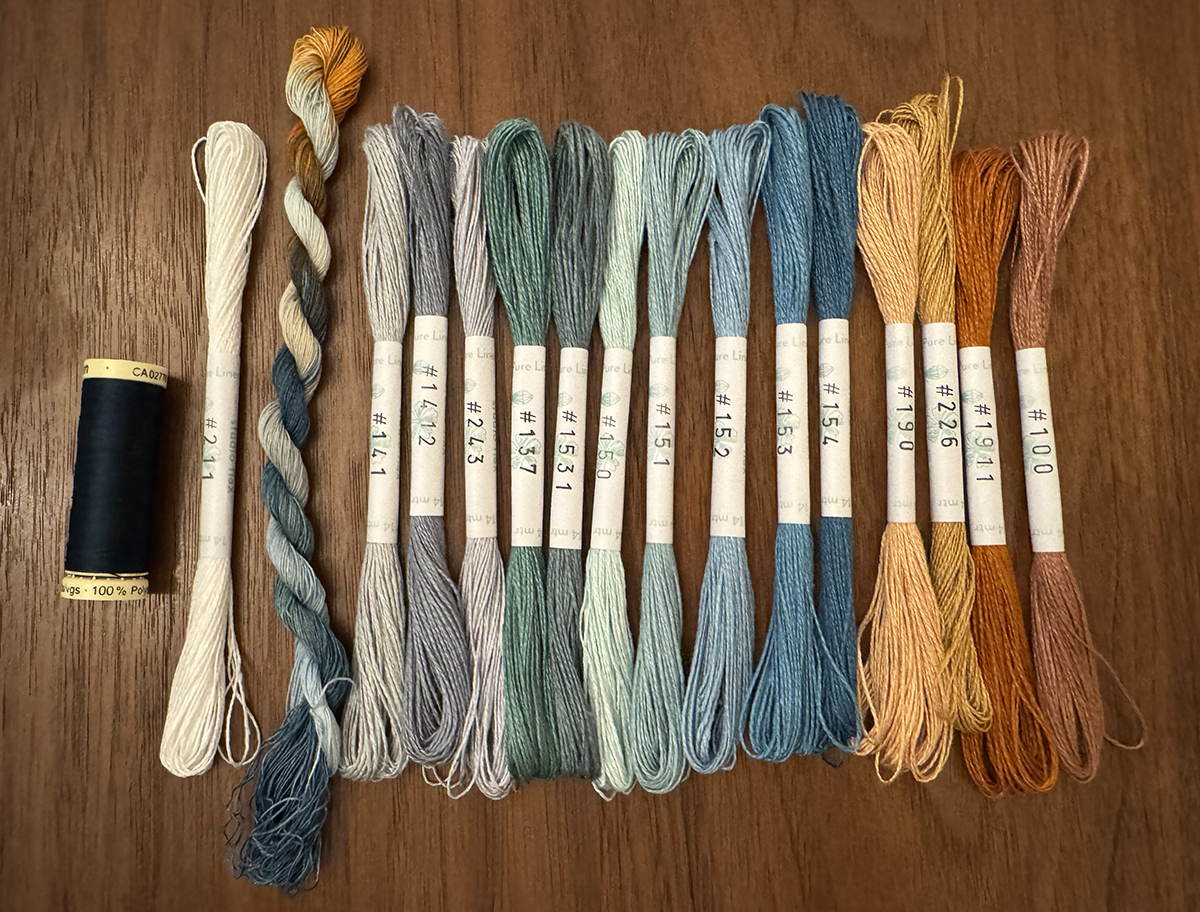
Please note that you may choose different stitches for the design (like not chain-stitching any of the names), create individual stitches of different lengths than I did, route threads differently, tie off with longer ends, or create a Milky Way that is much less dense (like the original pattern) or more dense than mine, so please consider the amounts of threads I've used as an estimate if you do a similar project. I've included them as a courtesy to others considering this project because no estimates are included with the Haptic Lab template.
Tools
- Size 22 chenille needle for stitching the Lyster linen thread
- Size 24 chenille needle for stitching the Gütermann and Stef Francis threads
- Fabric scissor
- Embroidery scissor - I suppose this is optional, but I don't like keeping large scissors out by my embroidery projects
- Iron and ironing board
- Fine-pointed tweezers - optional, but I found straight, thin jeweler's tweezers helpful for grabbing the stabilizer template out of detailed embroidery sections.
- Serger - optional, for quickly securing the edges of cut linen fabric so it can't unravel while being worked on.
- Bias tape maker - optional, but I wanted to make bias tape out of the quilt body fabric and I find it a lot easier to make bias tape in linen with one. I used a 1"-wide bias tape maker and then folded it over again to make 1/2"-wide double-fold bias tape.
Notes
- Here are Haptic Lab's DIY quilt instructions, which I highly recommend taking a look at before committing to doing this project. Note that their time estimate is far too low. I must have spent at least double the stated 60 hours on each quilt.
- I cut the fabric a couple inches larger than needed so that I'd have room to serge the edges while working and also definitely have the full design in the final project. Plain weave linens like I used like to fray at the edges while working, and since this project took a very long time (I have mentioned that I'm not exactly sure how long, but definitely both quilts each took at least double the 60 hours the template suggested, right?), serging the edges served me well. (If you don't have a serger, it can be helpful to use a sewing machine to run a zig zag stitch around the edges, and if you don't have a sewing machine either, you can blanket stitch or whip stitch the edges by hand.) The excess was easy to square up and trim before finishing the edges.
- Making my own bias tape was necessary to match the background fabric and keep my all-linen vibe. While the magical continuous tube bias tape trick works really well for most cottons, it's much more annoying with plain weave linen, in my experiences. I'd note that whatever time you'd save cutting can be made up by not pinning strips together if you make sure to tension each of the strips with one of your hands.
- I did not do this project entirely at a table, but I did stitch most of the structural azimuthal grid lines at a table.
- I stitched much smaller stitches than Haptic Lab's premade constellation quilts, both in the running stitch for the azimuthal grid lines and for the various constellations. This is certainly not the primary reason that this project took longer than the stated 60 hours as I am a very fast hand embroiderer, but it couldn't have helped.
- I held the Gütermann thread for the "invisible" quilting lines double, and all the other threads single.
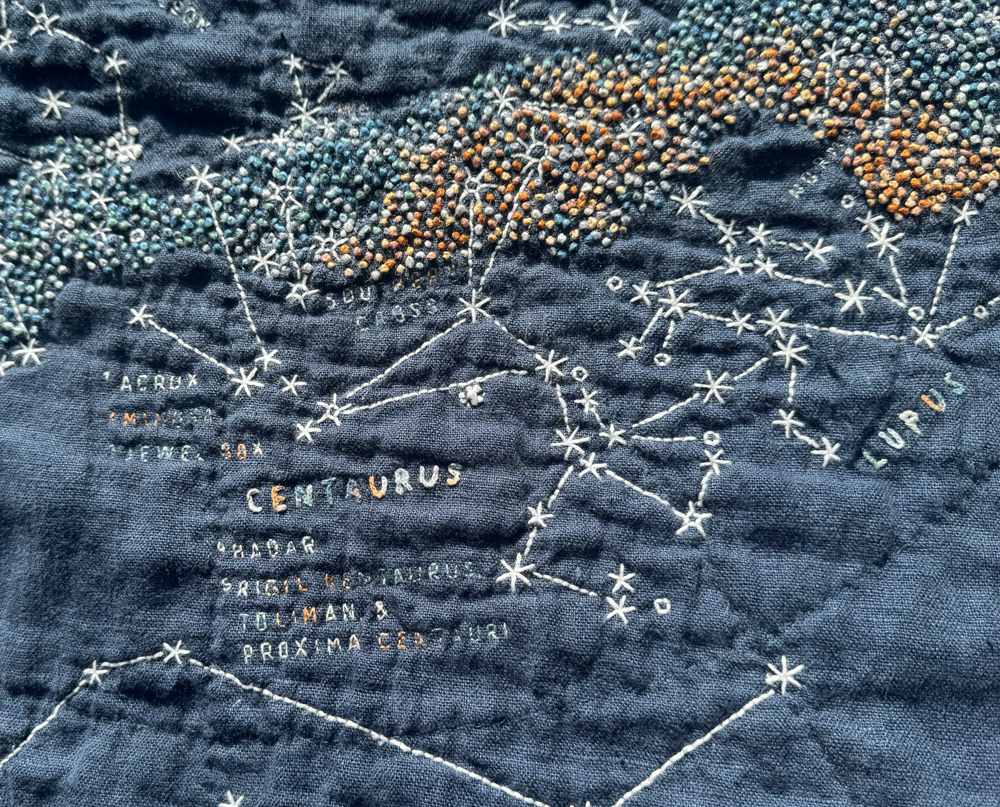
- I wanted to really see the gradient of the space-dyed linen thread in all of the names, so for the words in the larger size, I used a delicate chain stitch with a single thread instead of doubling up threads. Backstitch with a single thread was fine for showing off the gradient in the smaller words. Working with such a fine thread required a lot of extra time and care in placing the chain stitches. I will be honest here: if I was not incredibly committed to using this specific gradient in this specific thin linen thread, I probably would have chosen a thicker, more traditional embroidery thread instead and saved a lot of time and effort. On the other hand, the fine chain stitch made the result a lot more faithful to subtle curves of the pattern's typeface, Mårten Nettelbladt's Miso.
- I made some of the names smaller and rotated others in the Southern Sky pattern for a bit more consistency in placement choices between the Northern and Southern Skies. I also added additional constellation and individual star names. I used some additional small white French knots to depict nearby star clusters and added their names, too. To avoid free-handing letters, I printed the text on Sulky Sticky Fabri-Solvy Stabilizer, stitched through it, and washed it off per the instructions. (You can also use Sulky Paper Solvy Stabilizer instead, but it's much harder to pin small sections of this and many fine stitches in a row tears the paper. I found Sticky Fabri-Solvy to work better for the words.) If you want to match the existing template fonts, some trial and error revealed that the typeface appears to be Mårten Nettelbladt's Miso in regular weight, the smaller text is 23 pt font, the larger text is 34 pt, the design seems to use optical auto-kerning metrics, and the tracking looks like it's set to 280.
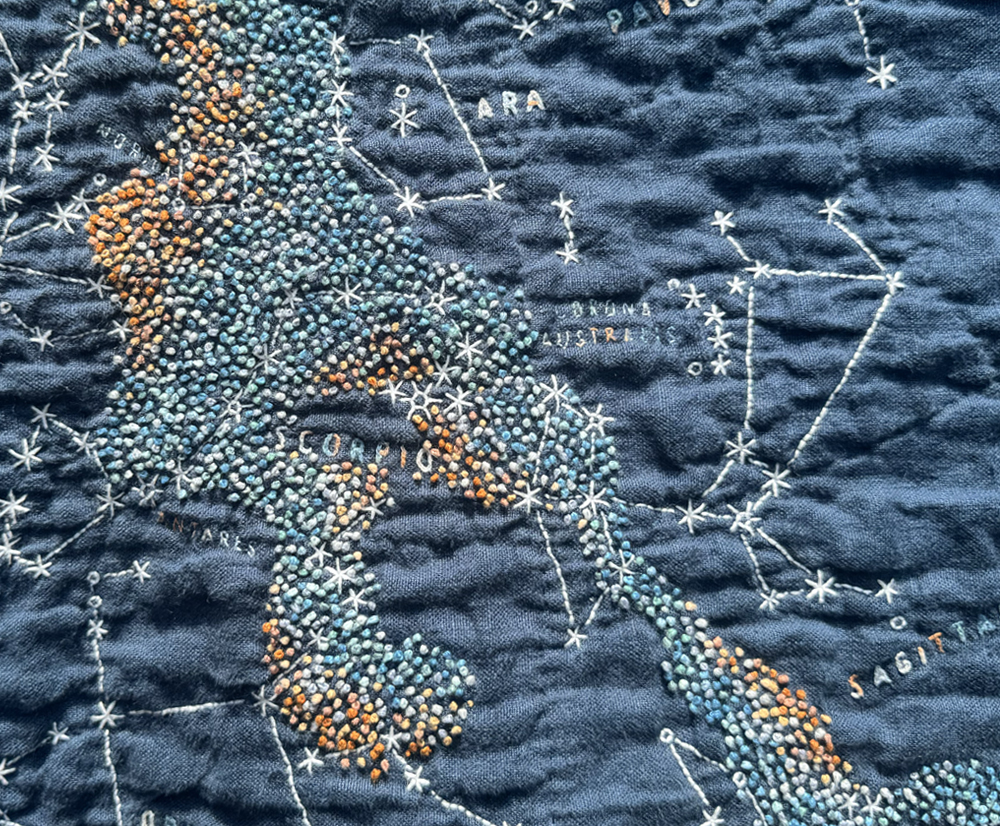
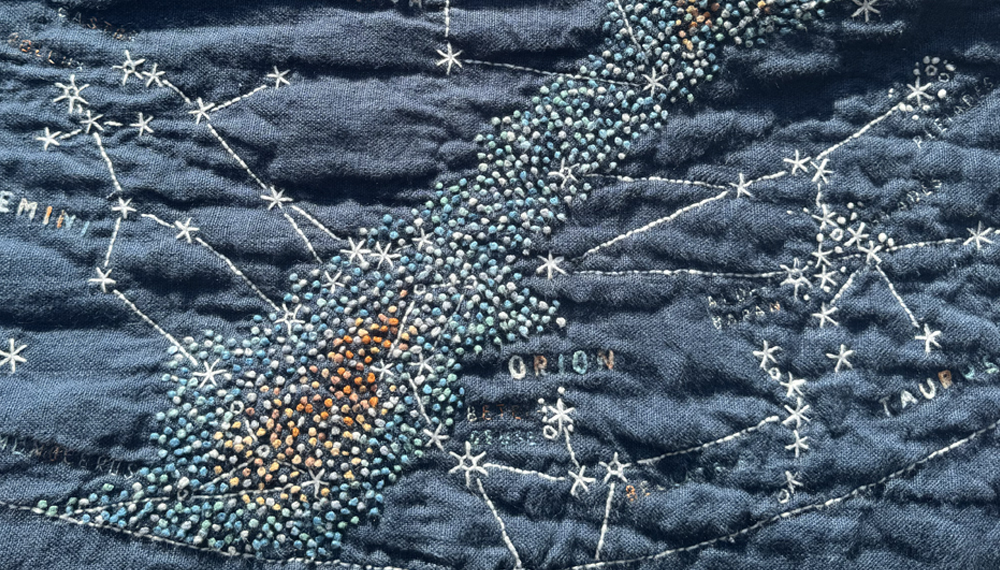
- I wrapped my thread 3 times around my embroidery needle for my Milky Way French knots. (Fewer wraps would make smaller dots, and this felt right to me with the threads I used.) I also secured each of them with a small backstitch before each knot on the back of the quilt.
- The pre-printed template Haptic Lab sells is harder to read than printing yourself on a Sulky stabilizer. The Milky Way dots, in particular, are difficult to see since they are printed in a very light grey, and the material is not fully opaque so it's especially hard to see them pinned to dark fabrics. (The constellation names are also this lighter grey, but being more than just a single dot, there's enough to make them out.) This also gets worse as the stabilizer wears down with handling. (On the other hand, it's nice not to have to position many different pieces together!)
- Again, Haptic Lab's pre-printed templates wore through in a lot of places during normal amounts of handling during stitching. I would not say I moved or folded this template all that much, but it might have worn down less if I were willing to do the entire project at a table. I'd highly recommend taking a photo of the template before starting so you have something you can reference in locations where the template wears through. (Luckily I did the Northern Sky first, so I could reference the picture of the design on the shop listing for any questions I had when my template wore through in many places.) By the time I had gotten to the Milky Way, it was nearly impossible to see.
- I chose to free-hand a much denser Milky Way - this was 5% because I couldn't see it consistently on the pattern and 95% because I wanted a different aesthetic. I like how this turned out substantially better than the very exacting, sparser grid of the pattern, but I spent probably two to three months' worth of free time/TV time stitching my much, much denser Milky Way. This obviously took me much longer than the precise, sparser grid of the pattern would have taken me, but again, even accounting for this, each quilt likely will take you far longer than the 60 hour estimate.
- Tearing away the template stabilizer was incredibly tedious - each quilt took an entire day to reveal! I found it easiest to pull sections away from the stitches. Fine detail work makes for small sections that are very hard to pull away from their stitches - digging pieces out with my chenille needle sort of worked, but I found that thin jeweler's tweezers I use in my ceramics practice worked well for grabbing those sections.
- Washing away Sulky Sticky Fabri-Solvy Stabilizer is not a process I enjoy. It's got a gross sticky texture I find really unsettling and also leaves a sugary residue until it's washed out thoroughly with soap. (Washing out Sulky Sticky Fabri-Solvy Stablizer would take less time than pulling out the pattern stablizer you can buy from Haptic Lab, though.) Fortunately, my partner Matt didn't have these sensory issues and helped me with this part!
- I let the backs be the natural mess they are when you embroider across all layers of a quilt. I'm an embroiderer, not a quilter, after all. (Also, these quilts were always going to end up on my walls!) If that bothers you, some Redditors have thoughts on how to avoid a "messy" embroidery-style back.
- I learned that while I love love love embroidery, I am not sure I'm quite as into hand-quilting! I might do it again for the right project, though, since it makes for a nice base for a large project.
With the help of my favorite local framer, they're now up on my wall: